


Per another owner’s request, here are some up-close shots of the chop-job for the 2008 GSX650F … Notice the black bolts (attached to the protruding box shapes beneath the fender) in the second image. These are holding the bracket to the bike ‘trunk.’ There’s a lock washer and nut on the inside of the trunk securing the bracket to the bike.
I did not remove the tail before cutting. I used only a razor knife (with new, clean blades) following a hand-drawn [penciled] line. I did have to change the blade out about half-way through, and I did slice the crap out of a finger, but it was still worth the end-result.
My plate is not actually at an angle, but if you purchased the same tail light w/ the integrated signals and plate light, you don’t need it at an angle. It’s clearly visible at night without bending or angled mounting. Also, you may need some additional hardware (2 X bolts, 2 X nuts, 2 X lock-washers) to re-mount the OEM plate bracket to what’s left of the tail after the chop. Depending on how small your hands are, you might have to remove the tail piece (not the rear fender, just the painted tail) to attach lock-washers and nuts on the inside of the ‘trunk’.
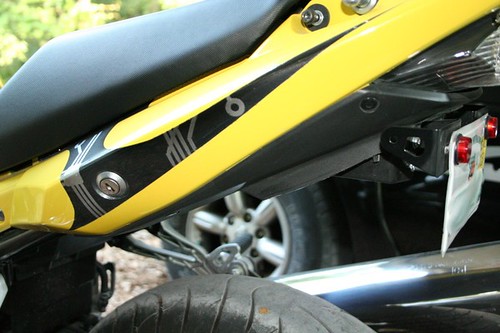
Figure 1) Profile view of the chop-shop job and license bracket
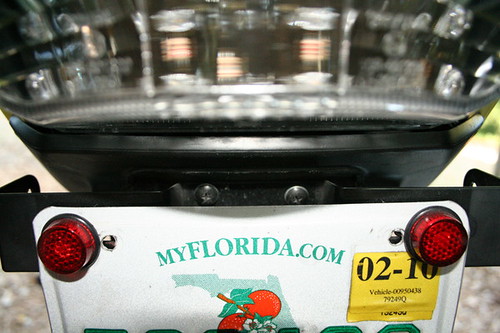
Figure 2) These black bolts secure the bracket to the bike trunk.

Figure 3) No need to bend your license plate. The LEDs from the aftermarket tail-light project perfectly.
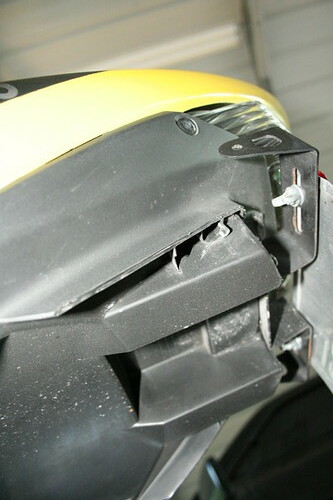
Figure 4) Again, view the bracket mounted to the protruding trunk.
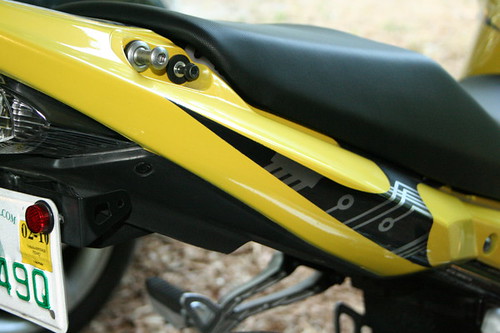
Figure 5) Using a razor knife gave a perfect, clean edge. No need to sand or grind.
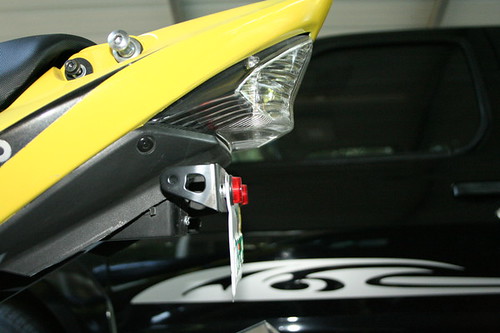
Figure 6) You can still see my pencil marks :S
Share this post
Twitter
Google+
Facebook
Reddit
LinkedIn
StumbleUpon
Pinterest
Email